
Top 10 Essentials To Help Winter Cats Keep Out The Cold
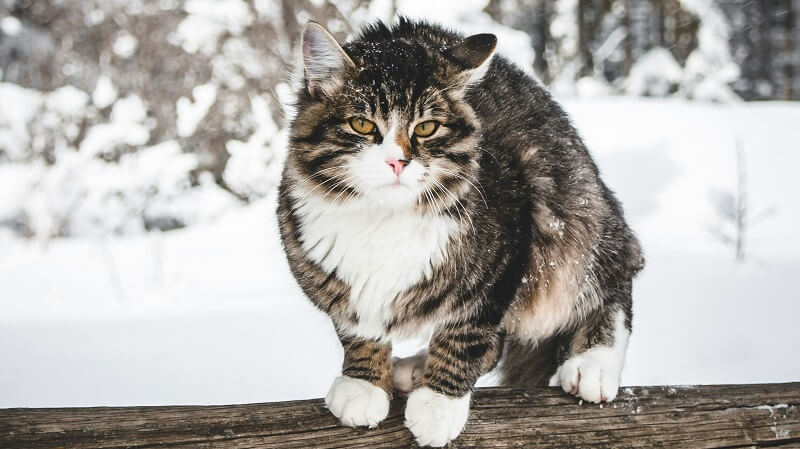
As the temperature drops, our winter cats need extra care to stay warm and comfortable. Just like us, cats feel the winter chill and seek
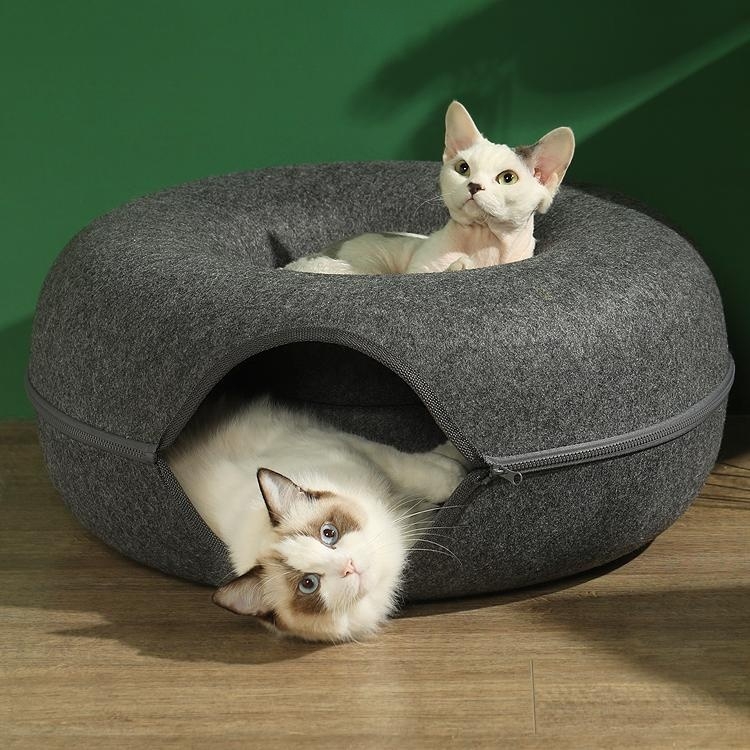
Want to create a cozy, enclosed bed your cat will adore? Crafting your own DIY cat cave is an easy and affordable way to give your kitty a stylish place to nest and snooze. Read on for how to make a custom cave bed your cat will love.
Before diving into DIY, let’s overview the many benefits of cat caves:
The enclosed design provides a sense of safety and protection. Cats feel relaxed and at ease.
Cushioned walls and floors allow cats to snuggle in plush comfort. Soft surfaces to lounge on.
Appeals to a cat’s natural desire to burrow and nest. Mimics wild dens and hollows.
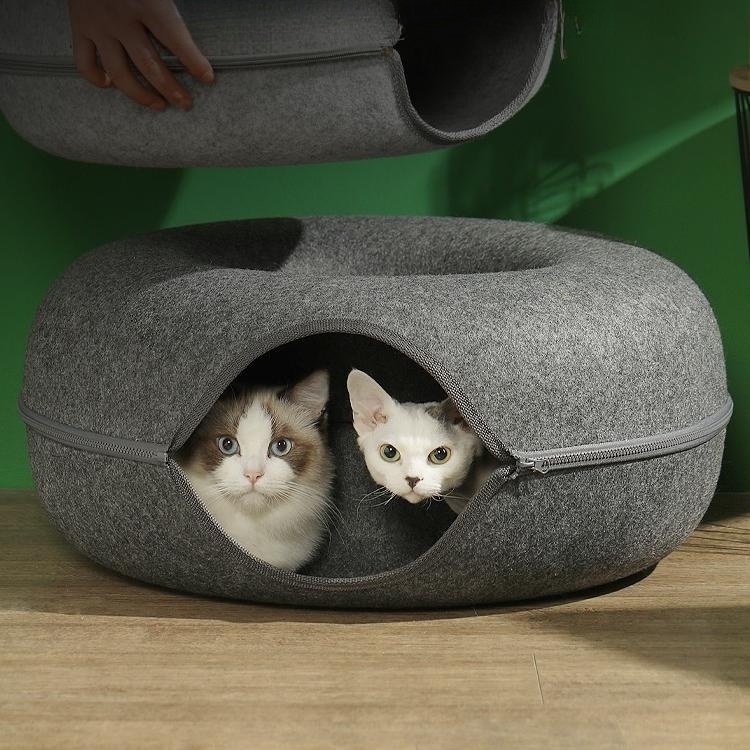
Gives cats a secluded space away from noise and activity. Peace and solitude for naps.
Retains body heat and gives warmth for cozy cat naps. Perfect for arthritic or elderly cats.
Shy or anxious cats have a safe space to retreat to. Helps timid cats feel secure.
A DIY cave can be small enough to bring along when traveling. Familiarity during transitions.
Cardboard and fleece allow you to create a cave bed on a budget. Fun crafting for cat owners.
Decorate the cave with your cat’s style in mind for a unique handmade gift.
The enclosed space appeals to cats’ prey drive for dark, tight areas to explore.
The DIY approach allows you to modify the cave over time to meet your cat’s changing needs.
A secluded space reduces anxiety and overstimulation in fearful or timid cats.
Kneading and rubbing inside the cave can help move hairballs through your cat’s digestive tract.
Gather these supplies to make your own cat cave:
When selecting materials, keep these guidelines in mind:
Opt for large, thick moving boxes for durability. Avoid thin cardboard that easily tears.
Look for heavy-duty tapes designed for shipping boxes. Reinforce all seams.
Choose 100% polyester or cotton fleece without loose threads or strings.
Go with dense upholstery foam at least 1-2 inches thick for padding.
Select non-toxic paints and glues if accenting the cave. Avoid small pieces that could choke your cat if ingested.
Sketch out some cave shapes and visualize how you’ll construct them before starting. Figure out how many boxes you’ll need and how to stack or join them. Decide on a color scheme or decorative theme. Have a plan ready to follow as you build.
Using cardboard or thick paper, make templates by tracing the shape of the openings and interior space. These will ensure precise sizing when cutting out fabric and foam pieces.

Take precautions when crafting your cat cave:
Let your creativity run wild to construct a one-of-a-kind cave bed your cat will adore napping and playing in. Customizing a cave to your pet’s personality with fun colors and textures makes a sweet DIY gift!
Not only is it a homemade cat cave budget-friendly, but it also allows you to create a bed unique to your feline’s needs.
Adjust the size, shape, padding, and fabrics to craft the perfect retreat. Your cat will love having their own handmade hideaway!
Building your cat a custom cave bed is a great way to provide them with security and appeal to their natural instincts. The DIY process lets your creative side run free for a cat-pleasing finished product!
Plus, you can modify and upgrade the cave over time as needed for continually evolving fun.
Put your crafting skills to work and build an enclosed cave bed tailored exactly to your cat’s preferences. The customization, creativity, and cost savings of a DIY cat cave make it a rewarding project that results in happy kitties.

As the temperature drops, our winter cats need extra care to stay warm and comfortable. Just like us, cats feel the winter chill and seek

Has your home turned into an impromptu opera house courtesy of your feline friend’s screaming cat vocal prowess? If you’ve been jolted awake in the
Is your home in need of a cozy sanctuary for your furry friend? Look no further than the delightful world of felt cat caves. In

Cat tube is a unique contraption that combines comfort and intrigue, drawing cats to cozy, confined spaces where they seek refuge and adventure in equal
As the temperature drops, our winter cats need extra care to stay warm and comfortable. Just like us, cats feel the winter chill and seek
Has your home turned into an impromptu opera house courtesy of your feline friend’s screaming cat vocal prowess? If you’ve been jolted awake in the
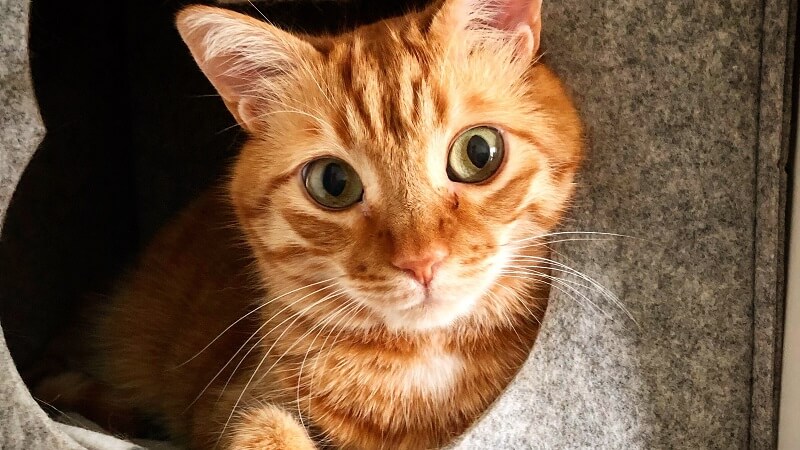
Is your home in need of a cozy sanctuary for your furry friend? Look no further than the delightful world of felt cat caves. In

Cat tube is a unique contraption that combines comfort and intrigue, drawing cats to cozy, confined spaces where they seek refuge and adventure in equal